1.1. Console or GUI - Getting Started
A Complete example for creating a hello world PDF file in a console application or GUI front end. For us, we have just created a new dotnet core console application in Visual Studio.
1.1.1. Nuget Packages
Make sure you install the Nuget Packages from the Nuget Package Manager
https://www.nuget.org/packages/Scryber.Core
This will add the latest version of the Scryber.Core nuget package.
1.1.2. Add a document template
In our applications we like to add our templates to a PDF folder. You can break it down however works for you, but for now a create a new XHML file called HelloWorld.html in your folder.
And paste the following content into the file
<!DOCTYPE HTML >
<html lang='en' xmlns='http://www.w3.org/1999/xhtml' >
    <head>
        <title>Hello World</title>
    </head>
    <body>
        <div style='padding:10px'>Hello World from scryber.</div>
    </body>
</html>
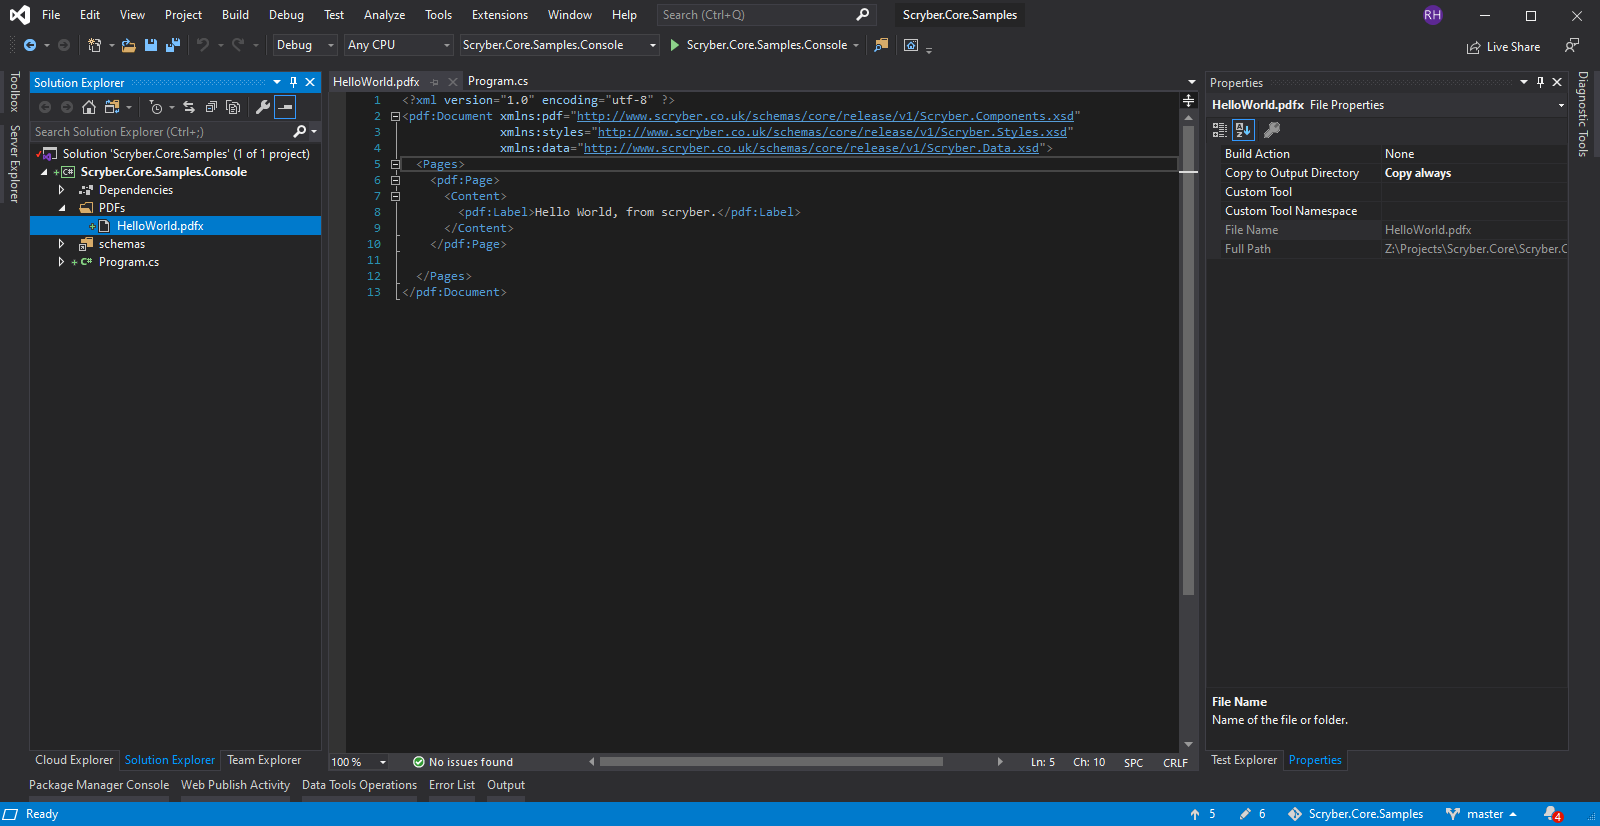
1.1.3. File properties
In the file properties for the HelloWorld.html file: Set the Build Action to None (if it is not already) And the Copy to output to Always.
Your solution should look something like this.
1.1.4. Program code
In your program.cs add the namespace to the top of your class.
using Scryber.Components;
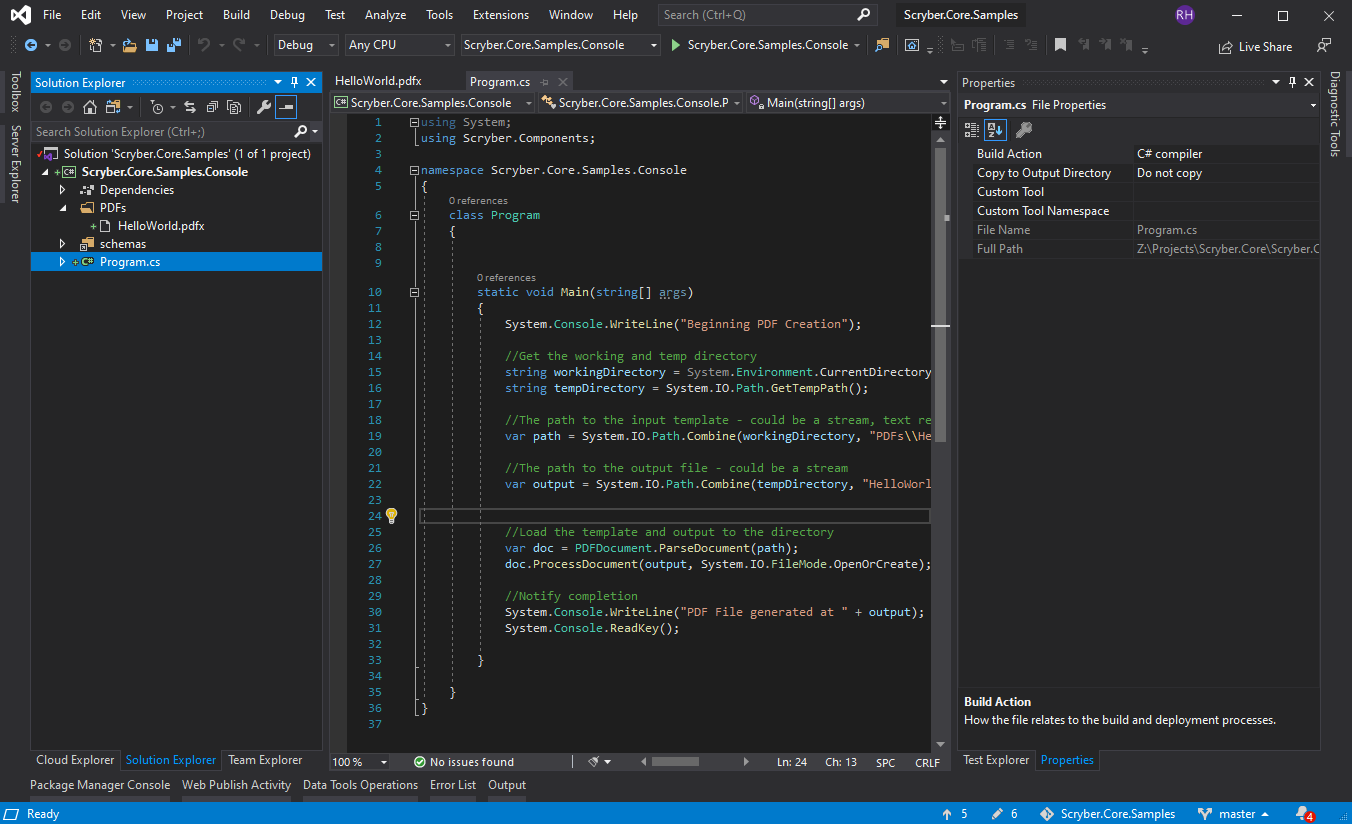
1.1.5. Replace your main method.
Next change the ‘Main’ method to your class to load the template and generate the pdf file
static void Main(string[] args)
{
    System.Console.WriteLine("Beginning PDF Creation");

    //Get the working and temp directory
    string workingDirectory = System.Environment.CurrentDirectory;
    string tempDirectory = System.IO.Path.GetTempPath();

    //The path to the input template - could be a stream, text reader, xml reader, resource etc
    var path = System.IO.Path.Combine(workingDirectory, "PDFs\\HelloWorld.html");

    //The path to the output file - could be a stream
    var output = System.IO.Path.Combine(tempDirectory, "HelloWorld.pdf");


    //Load the template and output to the directory
    var doc = Document.ParseDocument(path);
    doc.SaveAsPDF(output, System.IO.FileMode.OpenOrCreate);

    //Notify completion
    System.Console.WriteLine("PDF File generated at " + output);
    System.Console.ReadKey();

}
The parser will read the document from the XHTML content, and then create a new PDF document in the tempDirectory for the output.
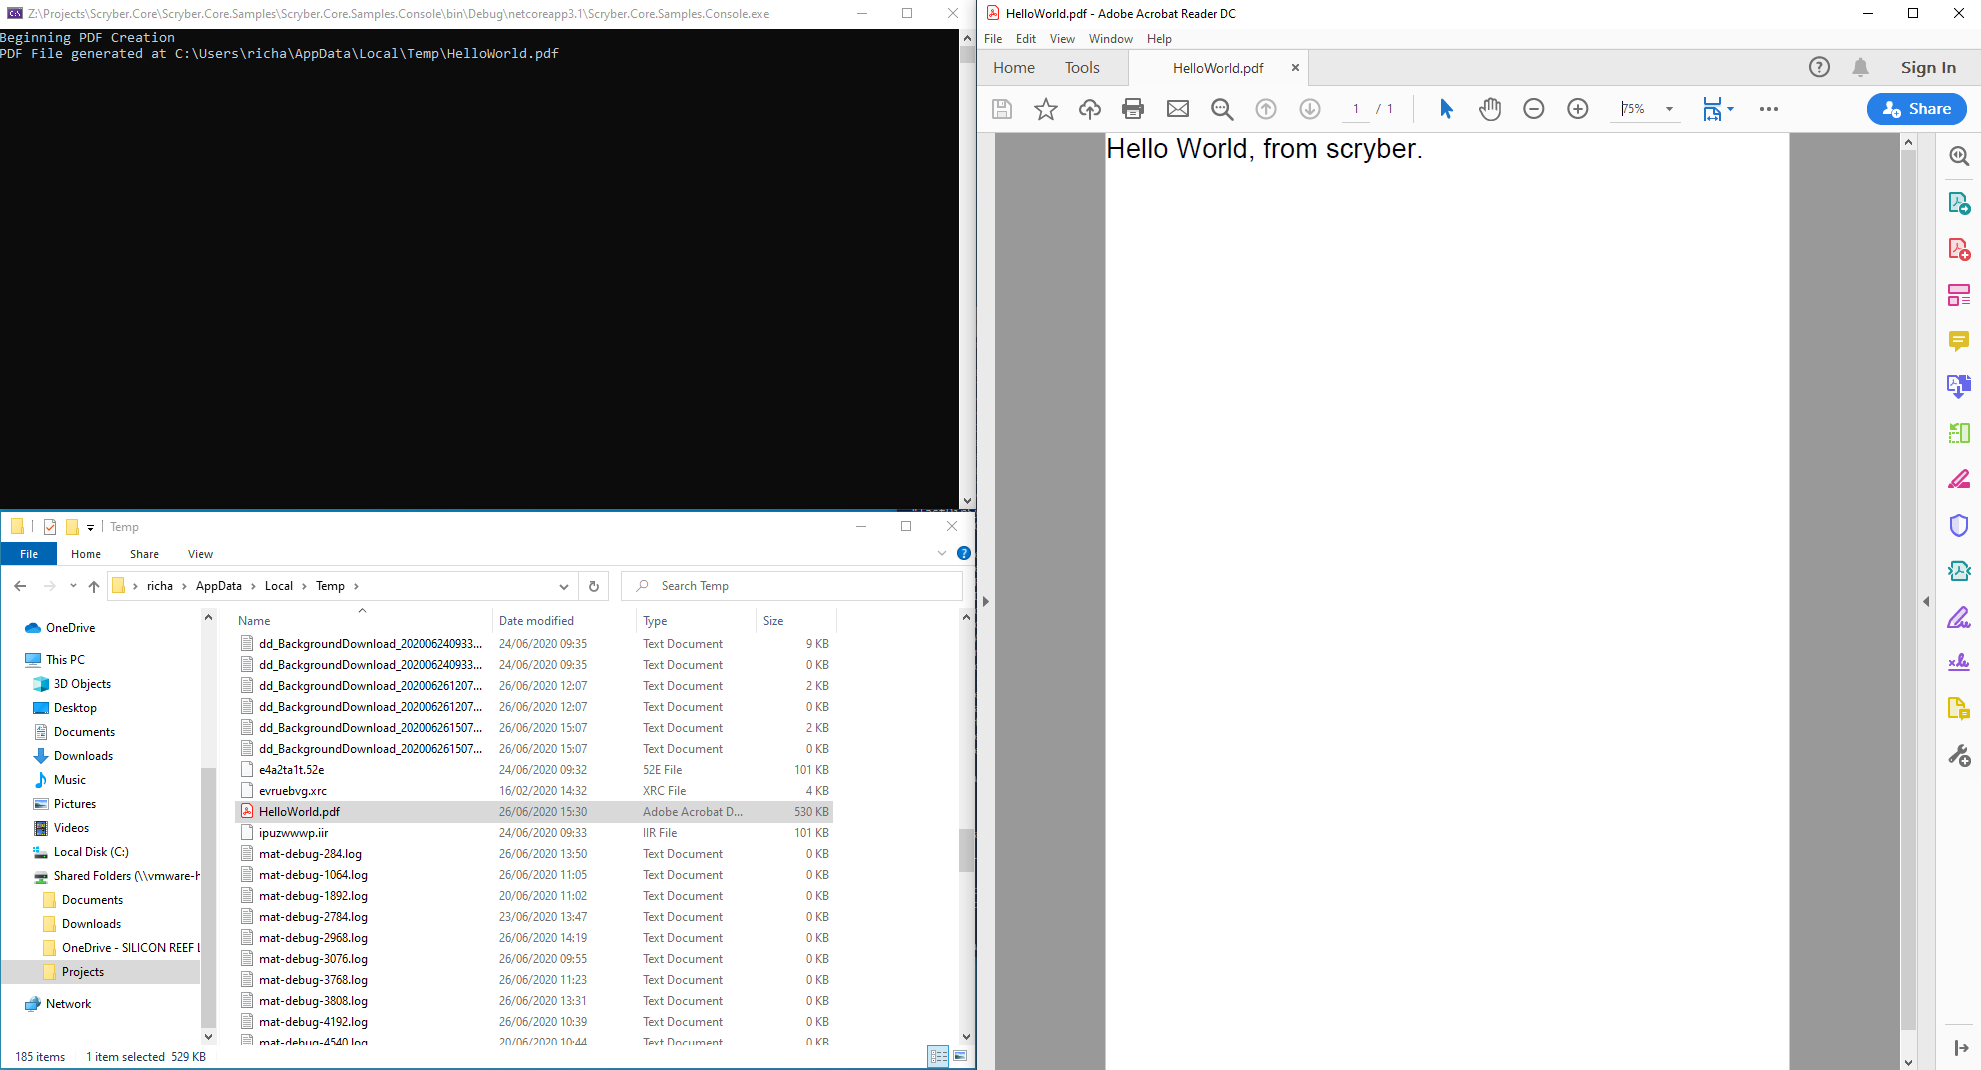
1.1.6. Testing your code
Running your application, you should see the console output the path to the pdf. And opening this will show you the file. you could have saved it to a share, opened in Acrobat reader, or sent via email as a stream attachment.
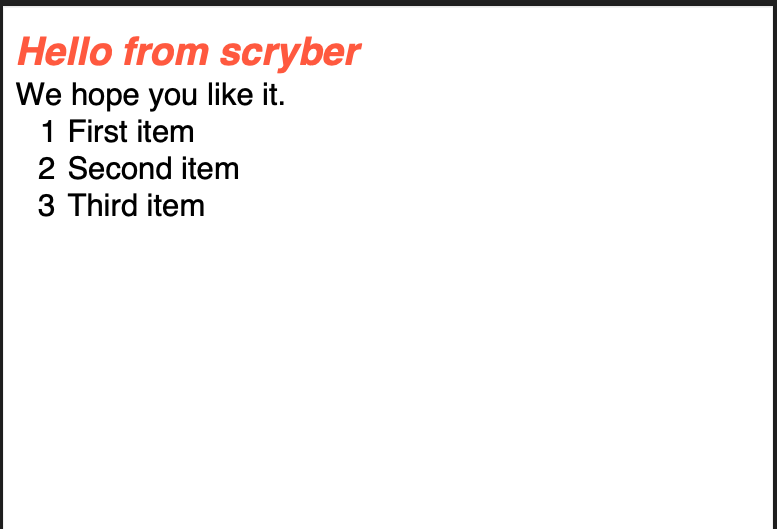
1.1.7. Adding dynamic content
One of the driving forces behind scryber is the separation of the content, data and style. It is common practice in sites. With scryber all attributes and content is bindable to the data you want to pass to it,
So we can specify our model data with from any source (here we are just using a dynamic object). And we can pass it to the parsed document either explicitly, or using the special ‘model’ overload on the PDF extension method.
private static dynamic GetHelloWorldData()
{
    //get your model data however you wish
    //it's just a sample object for this one.

    var model = new
        {
            titlecolor = "#ff6347", //style data
            title = "scryber", //simple content
            items = new[]                 //or even complex object data
            {
                new { name = "First item" },
                new { name = "Second item" },
                new { name = "Third item" },
            }
        };

    return model;
}

static void Main(string[] args)
{
    System.Console.WriteLine("Beginning PDF Creation");

    string workingDirectory = System.Environment.CurrentDirectory;
    string tempDirectory = System.IO.Path.GetTempPath();

    var path = System.IO.Path.Combine(workingDirectory, "PDFs\\HelloWorld.html");

    var output = System.IO.Path.Combine(tempDirectory, "HelloWorld.pdf");

    var doc = Document.ParseDocument(path);

    //Assign the data model to a parameter
    doc.Params["model"] = GetHelloWorldData();

    doc.SaveAsPDF(output, System.IO.FileMode.OpenOrCreate);

    //Notify completion
    System.Console.WriteLine("PDF File generated at " + output);
    System.Console.ReadKey();

}
The general syntax for referring paramters in a template is
{{parameter[.property]}}
And the html5 tag ‘template’ is used with the data-bind attribute to loop over one or more items in a collection, and the inner objects and properties can be used with the ‘.’ prefix to reference the current data context.
So we can expand our document body to use the model schema.
<body>

    <main style="padding:10pt">

        <!-- binding styles and values on content -->
        <h2 style="color:{{model.titlecolor}">{{concat("Hello from ",model.title)}}</h2>

        <div>We hope you like it.</div>

        <!-- Loop with nested item collection binding to the objects -->
        <ol>
            <template data-bind='{{model.items}}'>
                <!-- binding within the model.items content, and can be nested -->
                <li>{{.name}}</li>
            </template>
        </ol>
    </main>

</body>
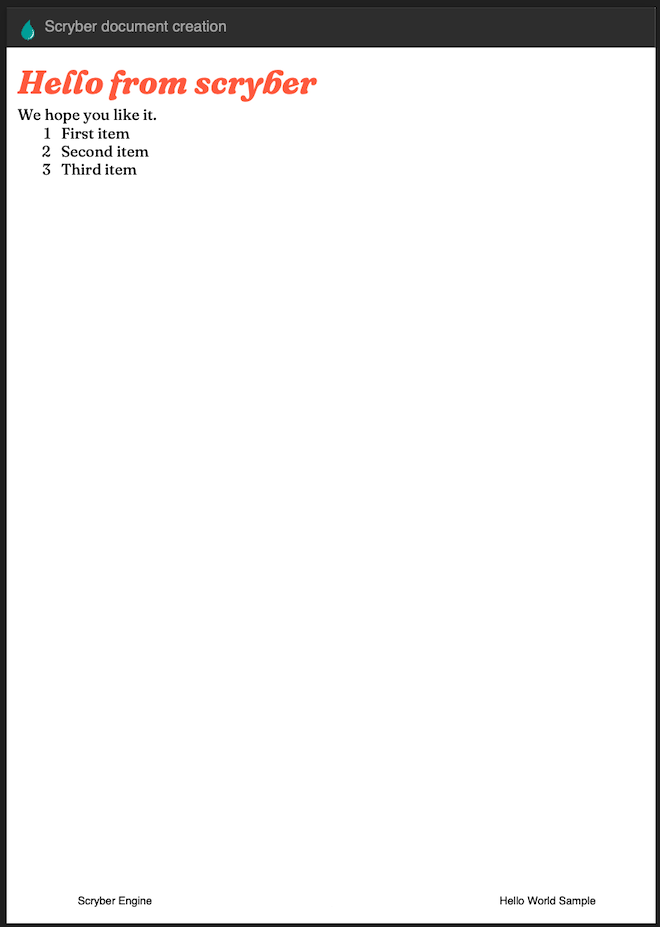
1.1.8. Adding Fonts and Styles
It’s good but rather uninspiring. With scryber we can use css styles, just as we would in html.
Here we are:
- Adding a stylesheet link to the google ‘Fraunces’ font with the @font-face at-rule (watch that &display=swap link - it’s not xhtml)
- Adding some document styles for the body with fall-back fonts.
- A complex style for a page header, with a colour and single background image, that will be repeated across any page.
- And a page footer table with full width and associated style on the inner cells, that will again be repeated.
The css style could just have easily come from another referenced stylesheet. Do not forget to encode the & character as &
<!DOCTYPE HTML >
<html lang='en' xmlns='http://www.w3.org/1999/xhtml' >
<head>
<title>Hello World</title>
<!-- support for complex css selectors (or link ot external style sheets )-->
<link rel="stylesheet"
href="https://fonts.googleapis.com/css2?family=Fraunces:ital,wght@0,400;0,700;1,400;1,700&display=swap"
title="Fraunces" />
<style>
body {
font-family: 'Roboto', sans-serif;
font-size: 14pt;
}
p.header {
color: #AAA;
background-color: #333;
background-image: url('https://avatars.githubusercontent.com/u/65354830?s=64&v=4');
background-repeat: no-repeat;
background-position: 10pt 10pt;
background-size: 20pt 20pt;
margin-top: 0pt;
padding: 10pt 10pt 10pt 35pt;
}
.foot td {
border: none;
text-align: center;
font-size: 10pt;
margin-bottom: 10pt;
}
</style>
</head>
<body>
<header>
<!-- document headers -->
<p class="header">Scryber document creation</p>
</header>
<!-- support for many HTML5 tags-->
<main style="padding:10pt">
<!-- binding styles and values on content -->
<h2 style="color:{{model.titlecolor}">{{concat("Hello from ",model.title)}}</h2>
<div>We hope you like it.</div>
<!-- Loop with nested item collection binding to the objects -->
<ol>
<template data-bind='{{model.items}}'>
<!-- binding within the model.items content, and can be nested -->
<li>{{.name}}</li>
</template>
</ol>
</main>
<footer>
<!-- footers in a table with style -->
<table class="foot" style="width:100%">
<tr>
<td>{{model.author}}</td>
<td>Hello World Sample</td>
</tr>
</table>
</footer>
</body>
</html>
Make some minor changes to our model.
using Scryber.Components;
var model = new
{
     author = "Scryber Engine",
     titlecolor = "#ff6347 font-family:'Fraunces'", //style data
...
The output from this is much more pleasing. Especially that Fruances font :-)
1.1.9. Further reading
You can read more about the what you can do with scryber from the contents.
We have no idea what you will be able to create with scryber. It’s just there to hopefully help you build amazing documents in an easy and repeatable way.